|
|
|
|
Cel Style Shading
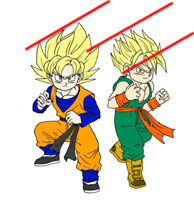
The first thing you need to decide before you start shading is from where the light is coming, and then how bright the light is (that is, how dark you're going to make the shadows). I decided to have the light coming on an angle from the right, and have fairly dark shadows. If you're going to use sunlight, then you could draw a few parallel lines to show the angle on a new layer, but if you're going to use a ball of Ki or a lamp, then you could draw lines coming from the centre of the light source.
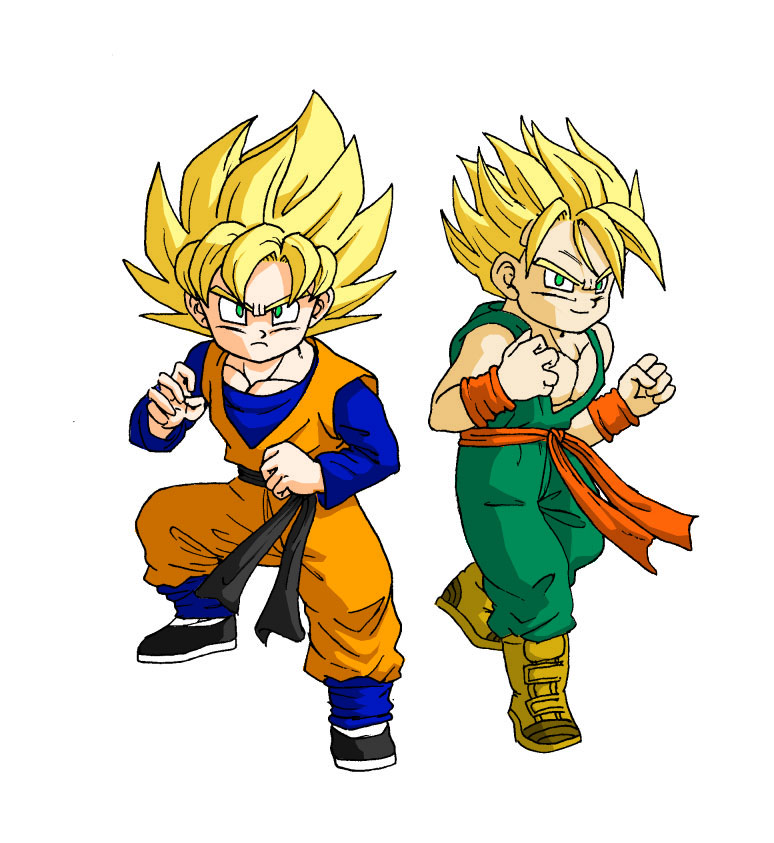
From there, select a colour that is slightly darker than the base colour, and select the area you want to shade. Shading can be used to both show shadow and depth; try to visualise the picture in 3d, and shade it accordingly. Once again, it's better to use the polygonal selection tool to select areas for shading so that you can get cleaner corners and a better defined area. I usually start with the face...
And here's the pic with all the shading done... or not quite.
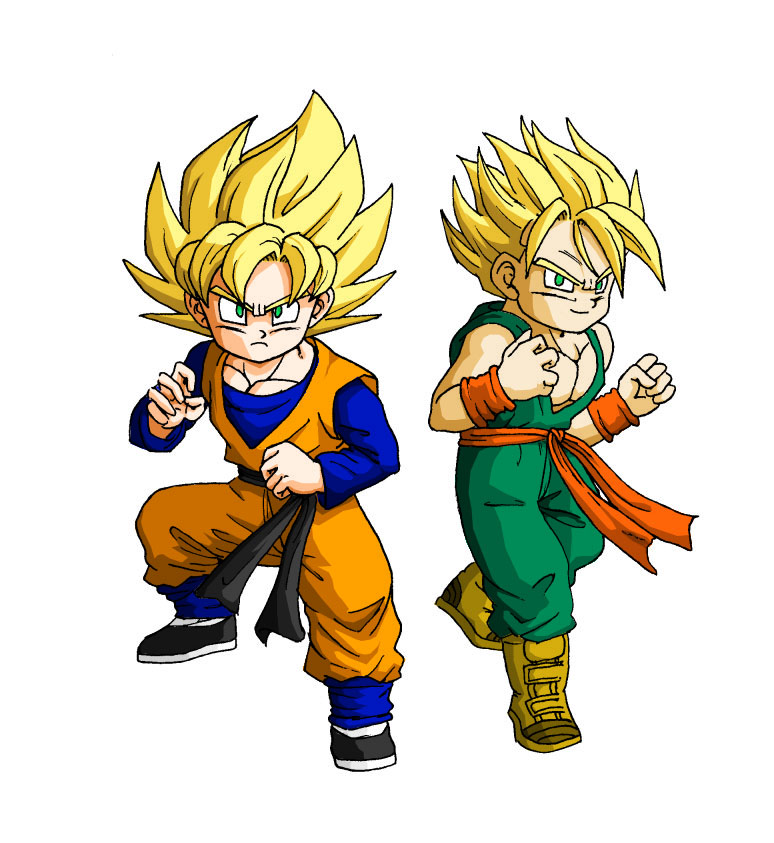
Cels usually have more than one level of shading, as it often takes more than one level to add detail and to get the shape of the image or character across. (For example, Goten's left leg still looks flat.
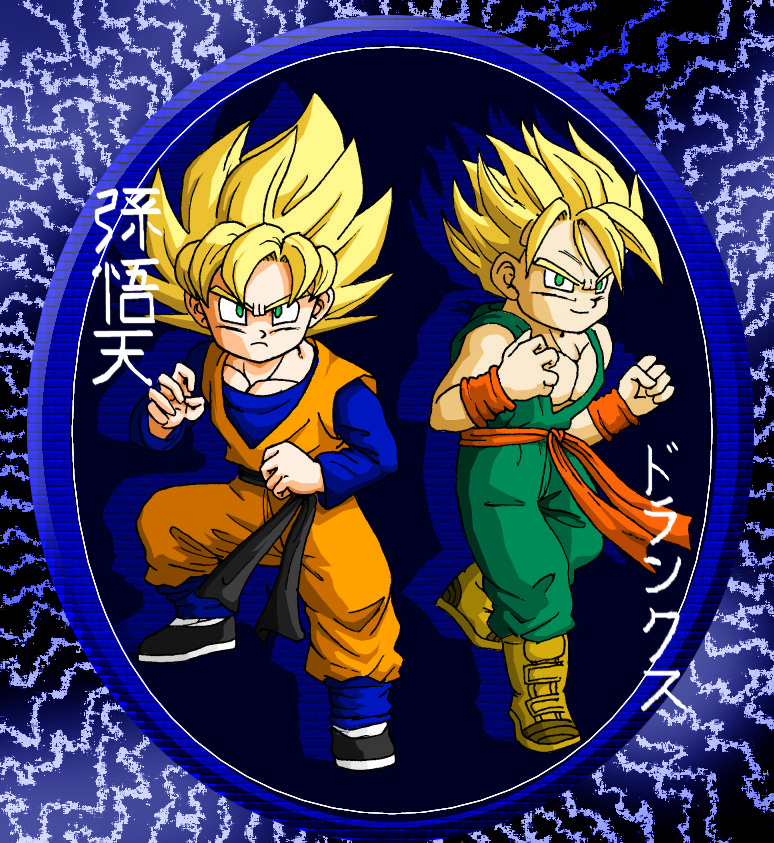
And now we're finished the characters. From here you can add a background (on the 'background' layer. See?) if you want to. Here's my finished pic:
|
|||