|
|
|
|
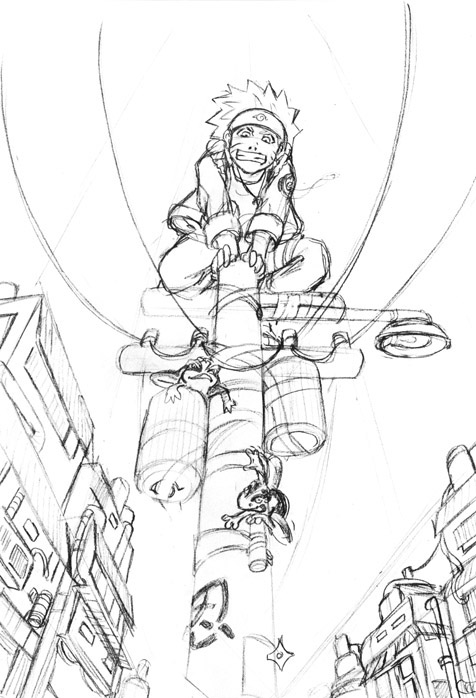
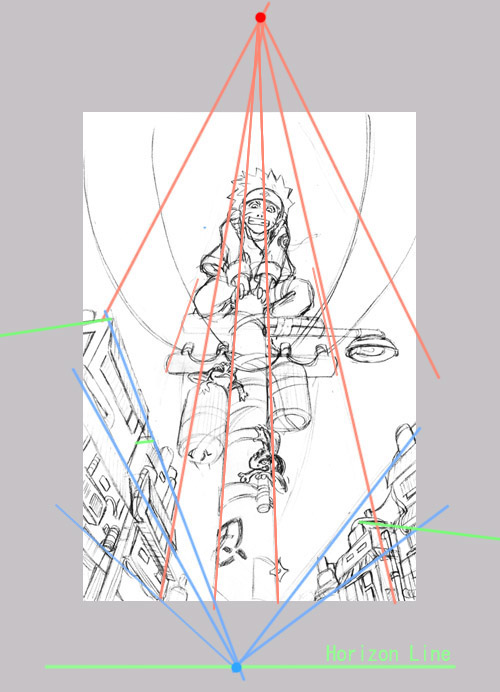
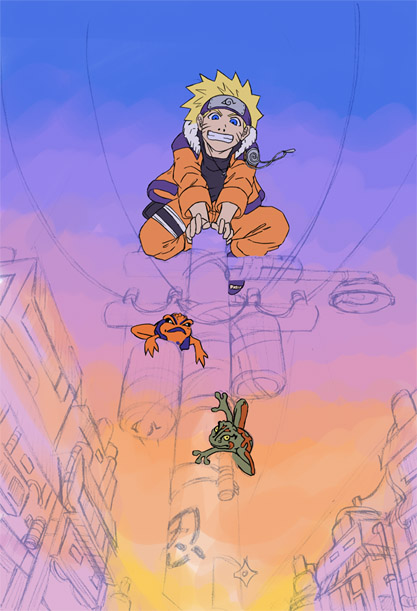
This is in response to the number of people bugging me to do a background tutorial. ^^; Well... I'm no art student, most of what's in this tutorial is what I have figured out for myself with experimentation. I can't teach you to paint (I'm still learning myself), but I can teach you the steps I go through when creating a background for my pictures so that you can have somewhere to start. For this tutorial you'll need to know a little about drawing, and know how to use a graphics editing program like Photoshop; (these principles should work for any other program like Painter or Paintshop Pro). I also recommended that you use a tablet rather than a mouse. Even though they're expensive, they make things so much quicker and easier. ^_^ 1. Sketching Pretty much everything I do starts from a sketch, whether that's on paper or straight onto the computer. I won't go into sketching in detail, I'll assume you know at least a little about drawing things like landscapes and objects. It never hurts to use references here and there but I strongly discourage copying. I looked at a few references for the buildings in the background as I wanted them to be "Konoha" style (the village in Naruto). I also recommend that if you don't know anything about drawing perspectives you should go through a few perspective tutorials and practice working with them. It's a good idea to know where your vanishing points are if you're drawing any picture where there are buildings or anything with straight edges. It's also really important to know where your horizon line is in any picture. When I scan my sketches or linearts I usually scan at 300 dpi. If your computer can't handle large images, then resize the sketch/lineart, but generally it's best to keep your picture as large as possible. This is important later on, when you want to add details. Also if you ever want to print your image out in high quality, you'll need it to be large. Here's the sketch I'm working with:
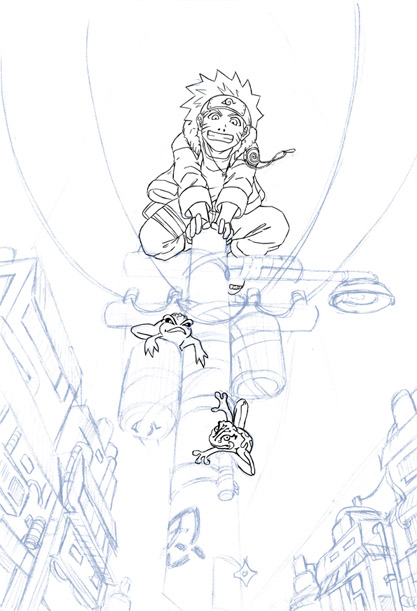
2. Atmosphere: Before I colour the characters in the foreground (Naruto and the frog and toad), I need to decide on what atmosphere I want. I decided to go for a late evening colour scheme. It's important to have an idea of what colours your background will be even when you're colouring characters as everything within a picture is affected by the same colour lighting. You don't want your character to look pasted on. ^^;
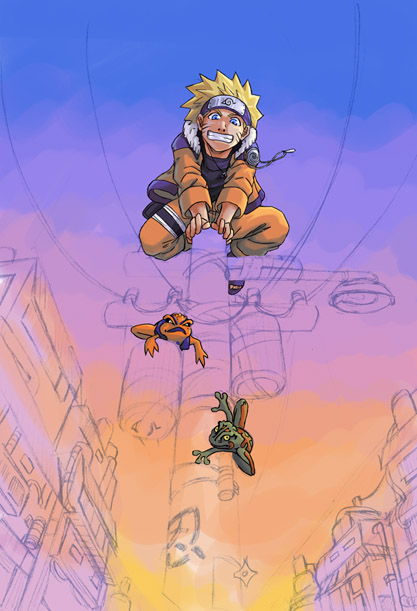
Moving along... I'm not going over how to colour your characters; there's plenty of good tutorials on that around. For this picture I used a soft brush for the shading; light is coming from the right.
|
|||||||||||||